


Direct answer: Plan a field-school photo station by reading every device label, separating the essential camera workflow from optional accessories, and protecting the work area before choosing a portable power station. A station is a fit only when its documented outputs and the labeled requirements of the actual equipment align.
Start with the documentation table, not a guess
A specimen photo table usually has a small, changing set of devices: a camera, a phone used for reference or transfer, and a task light. Record the power information printed on each device, adapter, or manual. Keep the camera workflow separate from items that can wait, such as a second phone or a decorative light.
| Item to record | Why it matters |
|---|---|
| Device or adapter label | It identifies the input type and rating to check. |
| Connector and cable | It prevents selecting a port before verifying the actual connection. |
| Essential or optional role | It helps the team keep documentation work first if the plan changes. |
| Site and instructor requirements | They determine where equipment may be placed and used. |
Build the station around the photo workflow
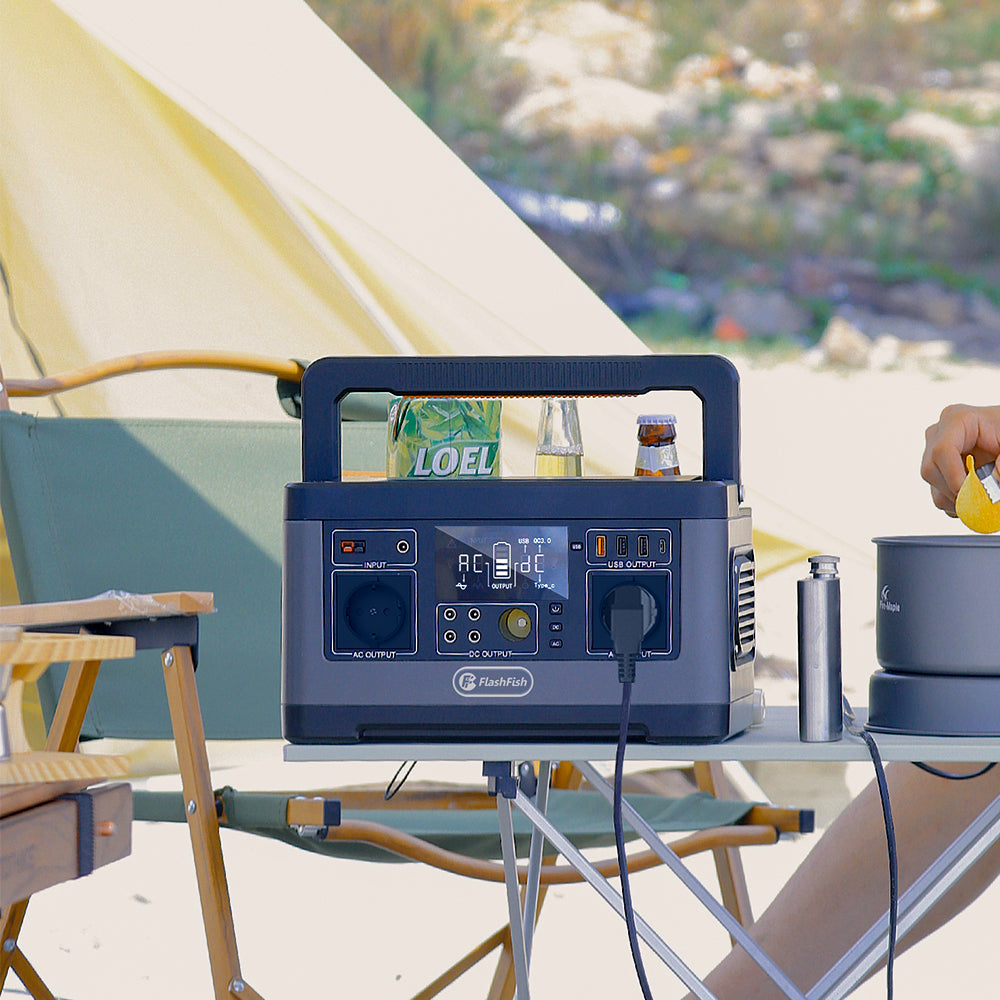
Place the camera, labels, notebook, and power equipment where the team can work without creating a traffic pinch point. Keep cables short and visible, and keep the station away from specimens, damp ground, and the edge of the table. If weather or site conditions change, pause and follow the instructor’s and site manager’s directions rather than treating a portable power station as a weatherproof work surface.
Use the right product facts at the right level
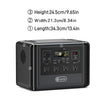
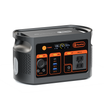
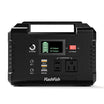
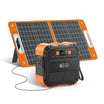
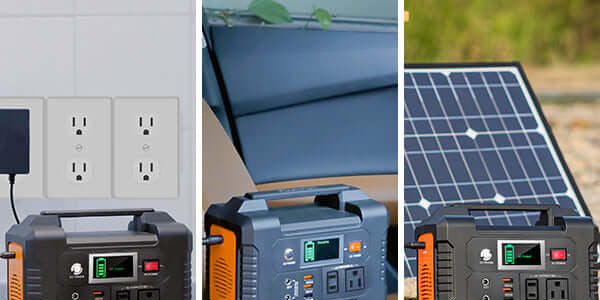
The FlashFish E200 record lists 151Wh of capacity, a 200W rated AC output, and three USB-A outputs. The FlashFish T200 record lists 153.6Wh, a 200W pure-sine AC output, two USB-C outputs, and two USB-A outputs. Those specifications describe the stations, not the requirements of a particular camera, light, cable, or field site. Verify the exact model, destination-market version, and device documentation before connecting anything.
Make a simple operating sequence
- Set up the photography and labeling workflow first.
- Check each planned device label and cable against the selected station’s manual.
- Connect only the essential device, then observe the station display and the device’s normal charging or power indicators.
- Add another item only after the team has checked its label and connection.
- Pack and inspect cables before moving to the next sampling location.
Keep equipment care separate from field decisions
A portable power plan supports the documentation table; it does not determine collection permissions, specimen handling, camera settings, or weather decisions. Use the course protocol and site rules for those choices. Keep a paper or offline note of image IDs so the record remains organized if a device needs to be disconnected.
FAQ
Can a portable power station power every device at the table?
Do not assume that. Check the labels, connectors, and manual instructions for every device, then keep the essential workflow prioritized.
Should the station sit on the ground?
Choose a stable, protected location that does not create a trip hazard and follows the site’s directions. Do not place it where moisture, specimens, or foot traffic can reach it.
What should the team do if conditions change?
Pause the setup and follow the instructor’s and site manager’s guidance. Recheck the equipment plan before resuming.
Next step
Before the next field session, make a one-page device-and-cable checklist and compare it with the current specifications and manual for the exact portable power model under consideration.
Next step: Compare FlashFish E200 specifications with your equipment list.

Leave a comment
Laman ini dilindungi oleh hCaptcha dan tertakluk pada Dasar Privasi dan Terma Perkhidmatan hCaptcha.