


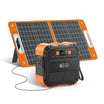

Short answer: Build an audio checkpoint around the labels on the tablet, headphones, audio gear, chargers, and cables—not around a guessed runtime. A portable power station can be considered only after the organizer permits the setup and each device requirement has been matched to the exact station documentation.
Start with the checkpoint job
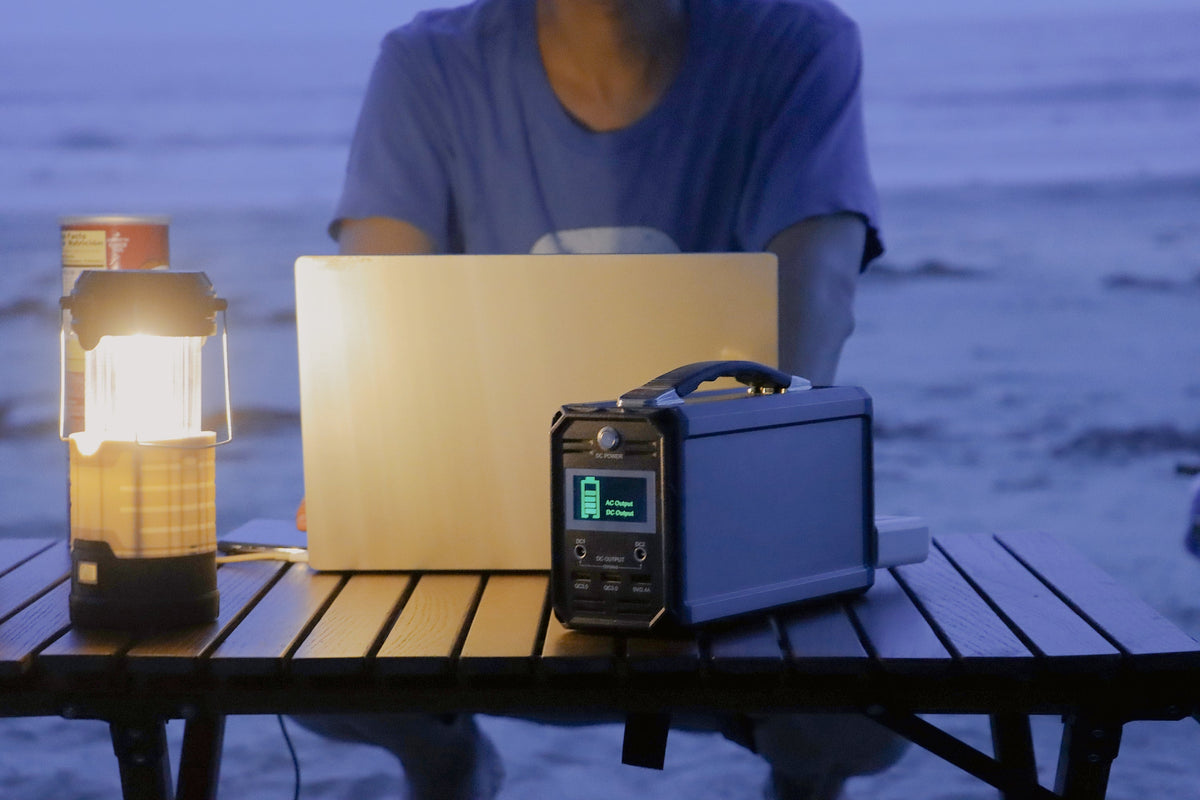
Define what the table must do during the tour. It may hold a tablet with an oral-history clip, a small audio device, a headphone connection, or a volunteer’s communication device. Write down each item’s model, input label, connector, and required charger. That small inventory keeps a temporary exhibit from turning into a pile of unverified adapters.
- List every device that will be powered at the checkpoint.
- Photograph the device and charger labels before packing.
- Bring only the cables identified for those devices.
- Confirm the checkpoint location, table placement, and operating rules with the organizer.
Plan the walking-tour setup, not just the power source
Place the station and any connected equipment where visitors do not need to step over cables or reach across the display. Keep the checkpoint easy to pause or move if the route, weather, or organizer instructions change. A printed transcript, paper map, or volunteer-guided alternative gives the group a way to continue the story without treating the powered setup as the only option.
Compare labels with documented outputs
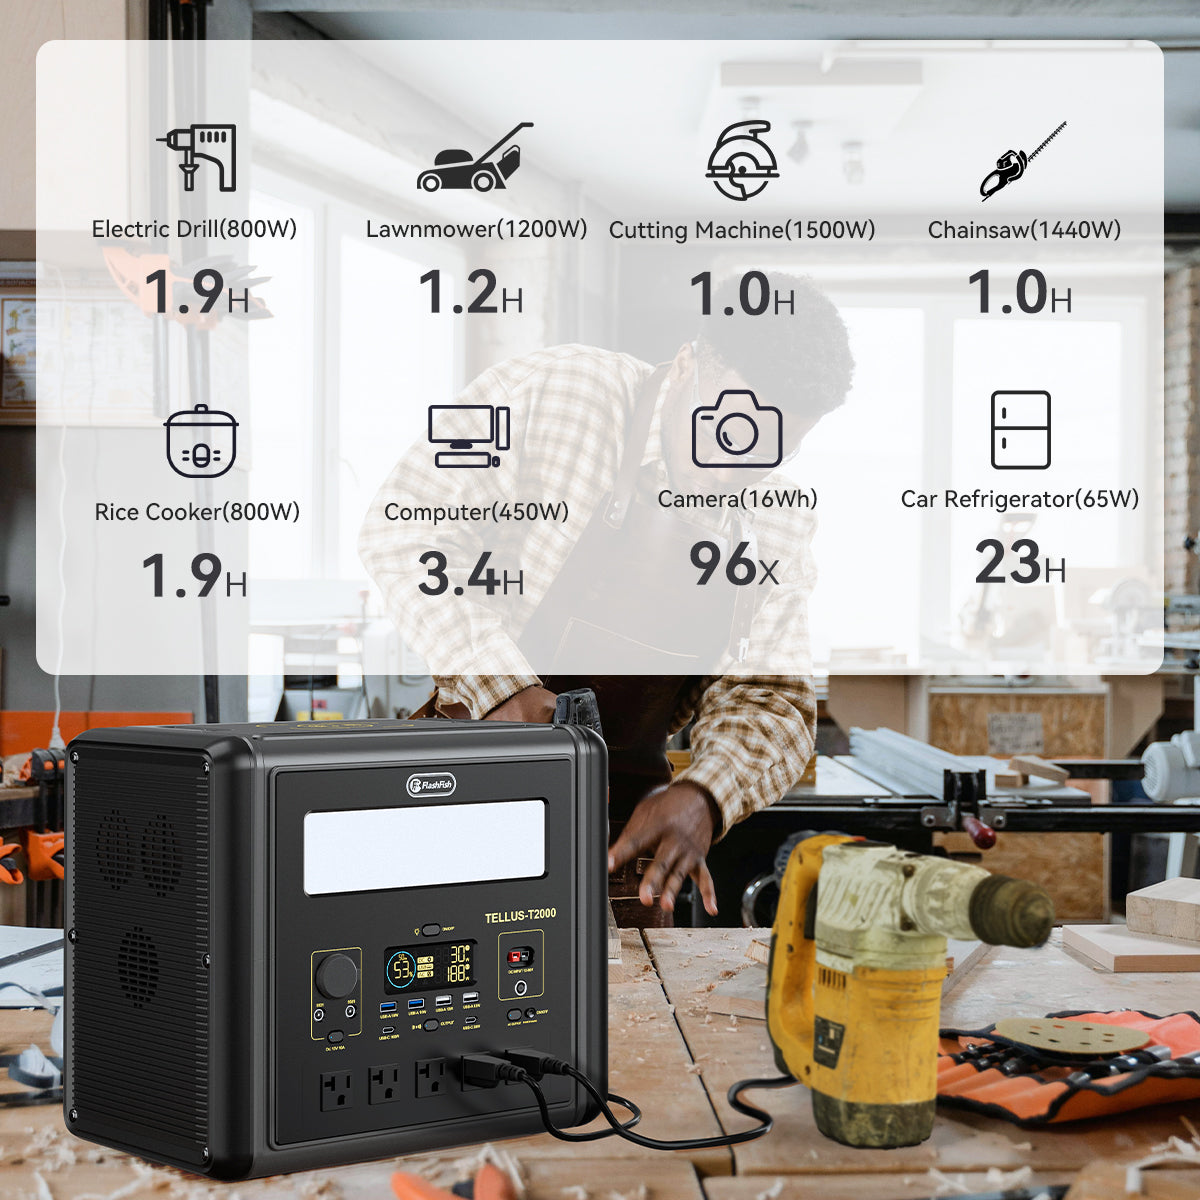
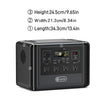
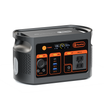
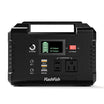
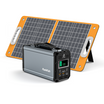
The FlashFish E103 record lists 179.2Wh capacity, a 300W rated pure-sine AC output, one USB-C output up to 60W, and two USB-A outputs up to 18W. Its listed AC configuration is 230V, so the destination-market outlet and voltage configuration must be confirmed before any AC use. The T200, resolved in the product bundle as TELLUS-T200, lists 153.6Wh capacity, a 200W continuous pure-sine AC output, USB-C outputs up to 60W and 18W, and USB-A outputs up to 18W and 12W. Those specifications help compare labels; they do not prove that a particular tablet, audio player, headset, charger, or combined setup will work.
Use a checkpoint record sheet
| Item | Record before setup | Decision |
|---|---|---|
| Audio device | Model, input label, charger | Use only its documented charging path. |
| Tablet | Connector, charger label, cable | Keep it separate from assumptions about the audio gear. |
| Power station | Exact model, outputs, original manual | Match documentation before connecting equipment. |
| Tour stop | Placement, traffic, organizer direction | Use the permitted arrangement or a non-powered alternative. |
Where a compact station may fit
E103 and T200 can be starting points for a documented comparison at a compact, permitted checkpoint. Capacity, output type, and port ratings can narrow the research, but they should not be used to predict runtime, device compatibility, or simultaneous-load behavior. Confirm the exact station variant and original manual alongside each device’s documentation.
FAQ
Can one power station run the tablet and audio gear together?
Do not assume that it can. Check every device requirement and the station’s documented limits before connecting more than one item.
What if the tour route changes?
Follow the organizer’s direction and use the prepared transcript, map, or volunteer explanation when the checkpoint cannot be operated in its planned location.
How long will the checkpoint run?
That depends on the exact equipment, settings, chargers, and complete power path. Determine it from documented equipment data rather than guessing from station capacity.
After the labels and placement are confirmed, compare the exact FlashFish specifications with the device documentation and choose the simplest arrangement for the checkpoint.
Next step: Compare FlashFish E103 specifications with your equipment list.


Leave a comment
Laman ini dilindungi oleh hCaptcha dan tertakluk pada Dasar Privasi dan Terma Perkhidmatan hCaptcha.