

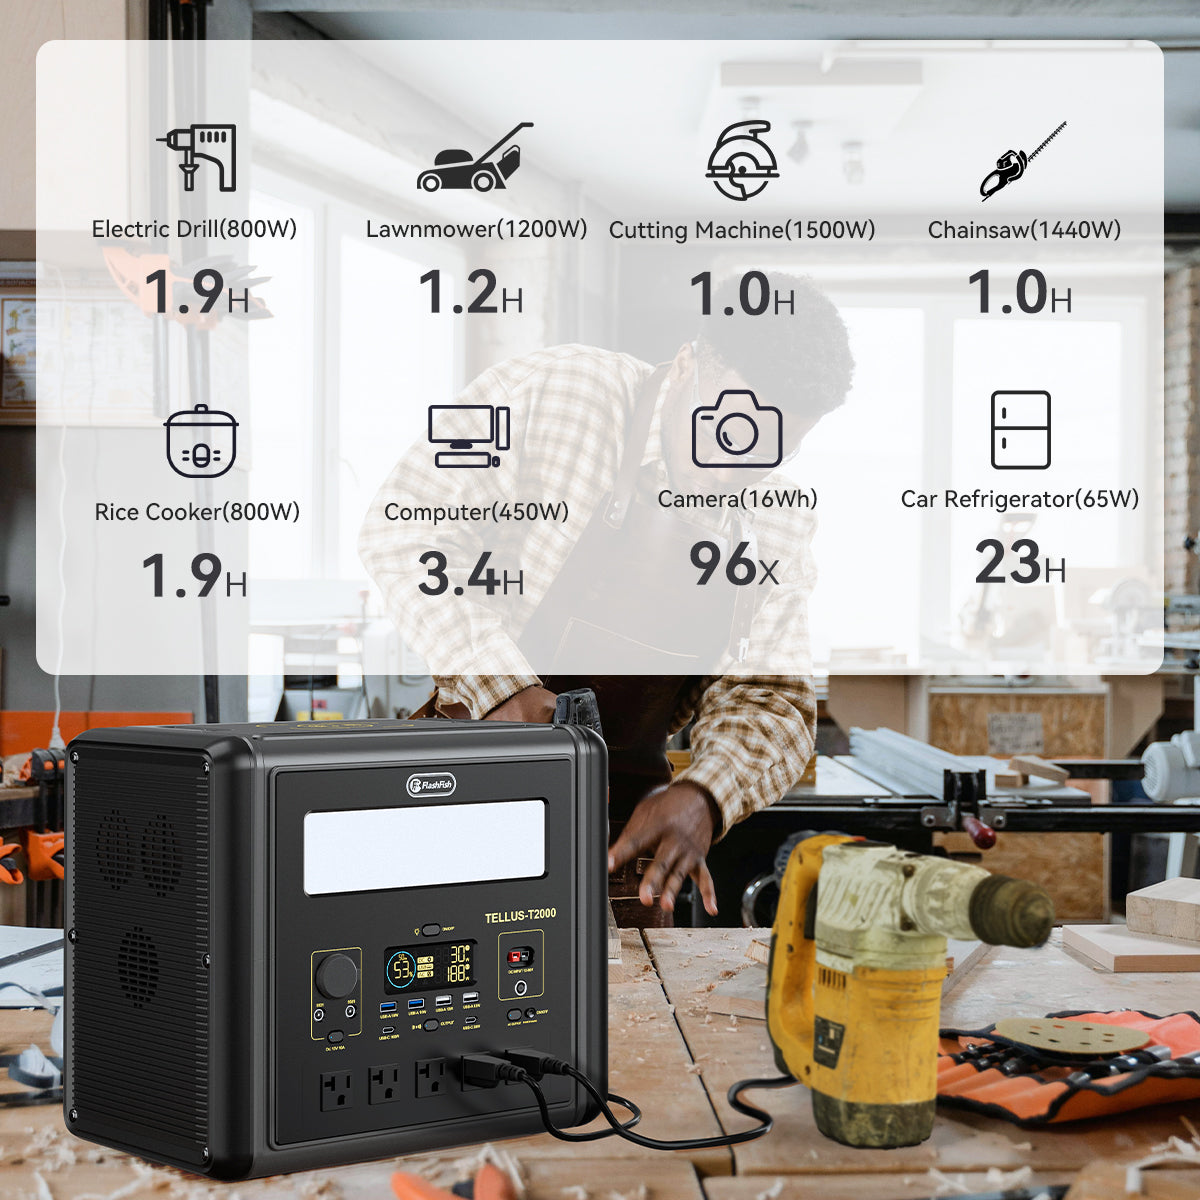
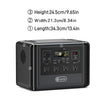
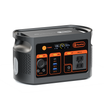
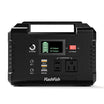

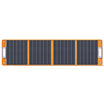
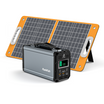
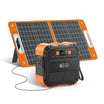

Short answer: Use wall charging when you have a permitted, reliable outlet and documented charger; consider portable-solar planning only after confirming the station’s exact input limits, connector, panel specifications, conditions, and schedule. Neither approach should be chosen from a generic “solar ready” claim or a guessed charging time.
Compare the planning jobs, not just the power source
Wall charging begins with a known outlet, the supplied or documented charger, and enough time to prepare before leaving. Portable solar planning introduces additional checks: the station input specification, the panel output and connector, cable condition, setup location, and changing daylight. A useful plan records what must be charged before departure and what must remain usable during the day.
Wall charging: the lower-variable preparation path
When a suitable outlet is available, follow the exact station documentation for the charger and charging procedure. Keep the charger label with the kit, inspect cables before use, and complete preparation before the activity starts when possible. A wall outlet still does not remove the need to confirm the device-side charger, station configuration, or site rules for later use.
Portable solar: verify the complete input path
Do not connect a panel based on wattage in its product name alone. Compare the station input voltage, current, power limit, and connector with the specific panel and cable documentation. The FlashFish E200 manual record lists a solar/DC input of 11–24V and a maximum solar/DC input power of 40W. The FlashFish TELLUS-T200 record lists a DC6530 solar input of 15–30V up to 60W. These facts describe the stations, not a confirmed pairing with a particular panel, a predicted charge result, or a recommendation for a given weather condition.
A practical comparison table
| Question | Wall-charging plan | Portable-solar plan |
|---|---|---|
| What must be verified? | Outlet, charger, station manual | Station input, panel, connector, cable, placement |
| When is the work done? | Before departure where possible | Before departure and again at the setup location |
| What should not be assumed? | Device compatibility or charge timing | Compatibility, input result, or weather performance |
| What is the fallback? | Use a prepared station and non-power workflow | Use a prepared station and non-power workflow |
Pack around the day’s actual device needs
For a day-use kit, label each item: phone, tablet, camera charger, light, or other device. Record its input requirements and decide whether it must be charged on site. Keep the station in a dry, stable place that follows the manual and local rules, and do not run cables where people may trip over them. If the location or conditions no longer support the planned setup, pause and use the non-power backup instead of improvising.
FAQ
Is portable solar always better for an all-day outing?
No. It adds an input-path and setup verification task. Choose it only when the exact equipment and conditions have been checked.
Can any solar panel charge an E200 or T200?
No compatibility conclusion follows from the station records alone. Compare the exact panel, connector, cable, and station documentation before use.
Which option will charge a device faster?
Do not generalize. Charging behavior depends on the specific station, charger or panel, device, conditions, and complete power path.
Before choosing a charging plan, compare the exact FlashFish input specifications with the station manual and the labels on every panel, cable, charger, and device in the kit.
Next step: Compare FlashFish E200 specifications with your requirements.


Leave a comment
Situs ini dilindungi oleh hCaptcha dan berlaku Kebijakan Privasi serta Ketentuan Layanan hCaptcha.